In the search for a solution to snoring, people have tried different masks, sleeping positions, and even surgery, often with little result. They’re so desperate to find some kind of cure that they overlook free and simple techniques in favor of the pricey and untested solutions they find advertised on television and in stores. In reality, all anyone needs to do to combat snoring or sleep apnea is take up the time-honored tradition of yoga.
 How does yoga help you stop snoring? Yoga combines specific stretches and breathing exercises to help strengthen your diaphragm, boost lung capacity, improve your respiratory system, and correcting posture. Yoga is a particularly appealing option for those who don’t want to spend money on expensive equipment as well as those who prefer natural approaches to healthcare. By making yoga a daily practice you can, over time, snore less or stop snoring entirely.
While most yoga exercises are low impact, please consult a physician to see if you are healthy enough to begin a yoga practice and how to best introduce it into your daily life.
The Power of Yoga
Before you take your first jump into yoga, it’s important to understand its underlying purpose, how it works, and how all of this relates to sleep. Though there are a staggering number of stretches and poses among all the different schools of yoga, each is built around focus and concentration. This focus helps to calm your mental state and control your thoughts.
By focusing on the different physical sensations of a particular pose or stretch, you’ll develop the means to block out distracting thoughts, tune out anxiety, and brush-off stress. Your body will more easily release the tension built up in the day, too. You simply can’t command your mind and body to do these things, but by adapting yoga practice, you train them to recognize states of relaxation and embrace them.
The Roaring Pose (Simha Garjanasana)

This pose works be stretching your tongue and relaxing the muscles at the front and back of your throat. The idea is to tighten the muscles in your tongue while opening airways in your throat. Both help reduces snoring and physically relax your body overall. Because of how the neck and spine bend when performing Simha Garjanasana, it’s important to start small and not overextend yourself.
Begin by sitting on the floor or large pillow, cross-legged with the heels of your feet placed roughly beneath your hips. Spread your thighs comfortably far apart. Place your hands palms-down on the floor, rotated so that your fingers are pointing towards you. Once you are in this position, lean forward and inhale deeply through your nose, then open your mouth, stick your tongue out as far as you can, and breath out slowly. Continue breathing for as long as you like. Make sure you time your breathing so that each inhale is the same length, and that each exhale longer than your inhales.
Timing your breaths is pivotal to opening up your airways. It can feel awkward for those who aren’t used to it, so it may be best to practice a breathing exercise before attempting this pose.
The Cobra Pose (Bhujangasana)

Sometimes snoring can be a direct result of built-up stress or tension. In these instances, all your body may need is a workout. Bhujangasana can deliver this faster than doing a circuit at the gym, and through a relatively simple motion. The Cobra Pose stretches muscles throughout your back, neck, shoulders, arms, legs, and stomach while opening up your chest and lungs.
Begin by lying face down. Your feet should be touching each other with your toes pointing away from you. Place your palms off to the sides of your chest and bend your elbows. When you’re ready, inhale and lift your head and chest up off the floor. Be sure that your legs remain straight. Continue leaning back, bending your spine backward and without twisting your neck. At this point, you can stabilize your posture by gripping your heels. Once you are positioned so that you are looking behind you, hold and breathe slowly for one minute. When you return to laying on your stomach, release a long exhale.
Bhujangasana is low impact, but to fully reap the benefits you must perform the stretches slowly. As you come to incorporate this pose into your routine, you can hold the position for more time to get a stronger effect.
Skull Shining (Kapalbhati)
 This advanced breathing exercise derives its name from the sensation it makes in the skull. Kapalbhati clears out your lungs and cranial sinus and, like Bee Breath below, does not make use of any stretches.
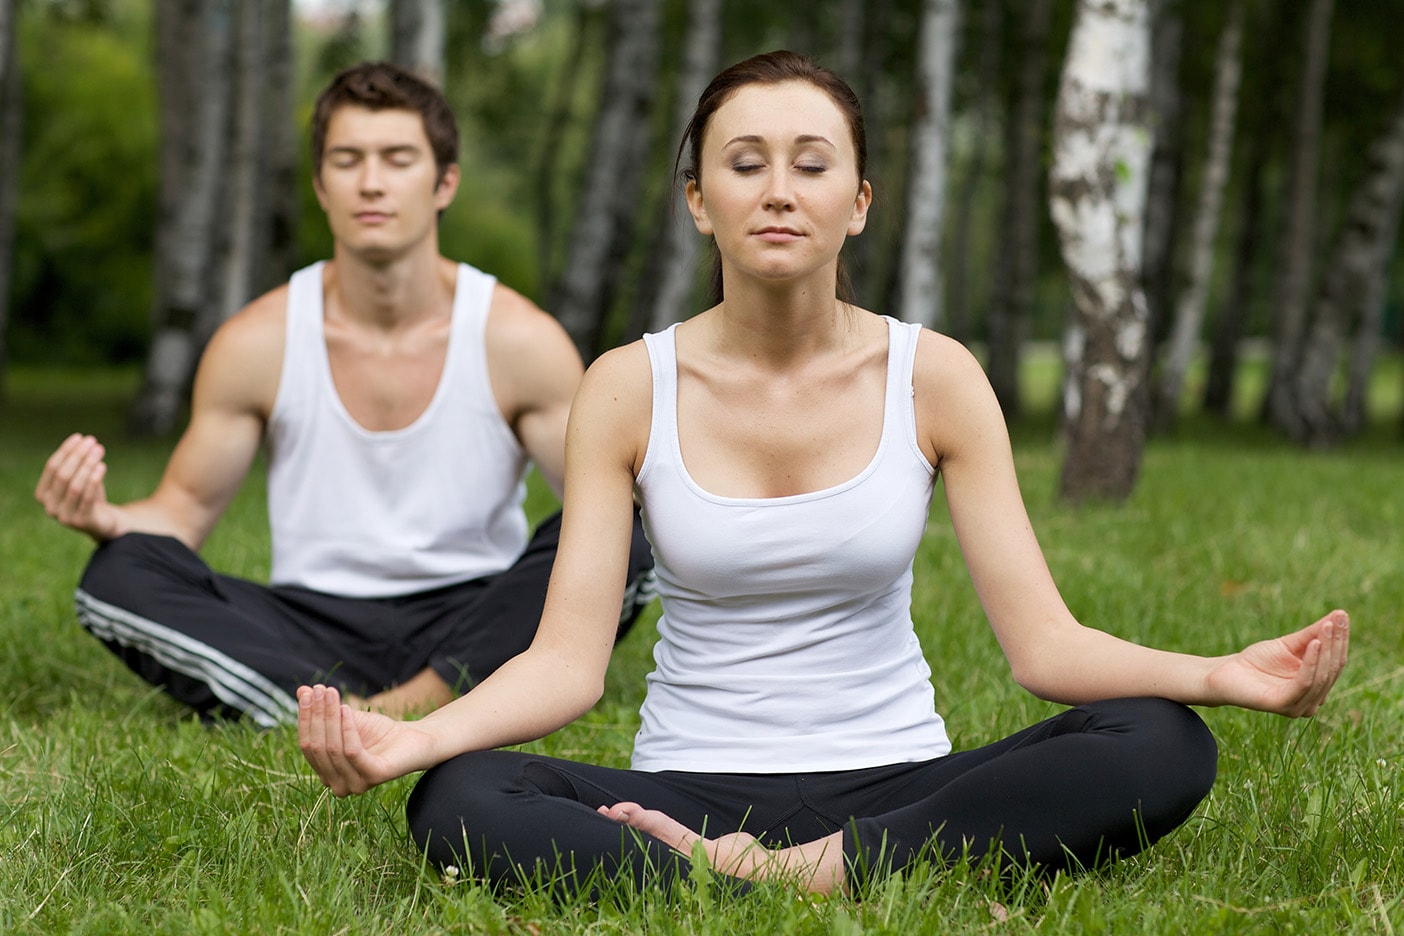
Kapalbhati begins in the lotus position (sitting cross-legged with your back erect and your hands resting palms-up on your knees). Start breathing with a long, deep inhale. When you exhale, try to focus on the movement of your abdomen. Pay close attention and imagine the distance between your stomach and your spine shrinking while you exhale, and try to force out as much air as you can. Each breath should last about one second. Repeat this ten times. After the last repetition, stop to feel the new sensations in your midsection for thirty-seconds. Repeat the whole process two more times.
If you’re exhaling forcefully, you’ll find that you begin to inhale automatically. Creating this sort of rhythm is beneficial to regulating your breathing which, in turn, addresses irregular breathing patterns that can lead to snoring.
Bee Breath (Bhramai Pranayama)
 Pranayama is a school of yoga that focuses on controlled breathing exercises rather than the more commonly known stretches and poses. They’re perfect for people with limited mobility, injuries, or other physical difficulties. And as an added bonus, they can be performed anywhere. It will physically relax you while reducing stress and anxiety. The simplicity with which it’s done means you can easily perform it if you have trouble sleeping or wake up in the middle of the night. It works against snoring by lowering your blood pressure and opening your nasal passages. Bee Breath is a powerful exercise to prepare your mind and body for sleep.
Sit in a quiet place. You can sit on a mat, the floor, or in a chair so long as your back remains straight. Breathe as you normally would through your nose, and keep your mouth and lips tightly closed. When you breathe out, make a humming sound. Breath like this for at least a few minutes, but continue for as long as you like.
Unlike some breathing exercises, Bee Breath doesn’t require you to time each breath or focus on a particular feeling in your body, so it’s among the best entry points for those new to Pranayama exercises.
Dhanurasana (Bow Pose)
 This is considered an advanced yoga pose because of the high level of flexibility required. If you’re new to yoga, it may be in your best interest to start with a lower-impact stretch. The name is derived from how your posture will mimic the appearance of a bow with a drawn string.
Lie on your stomach to start. Put your legs together and let your arms rest flat at your side. When you’re ready, bend your knees, bringing your feet forward, and raise your hands to grab your ankles. Breathe in, and when you do pull your chest and feet towards each other. Do this slowly, and hold the position for a count of five before slowly breathing out, returning to your starting position.
Dhanurasana aids in regulating your breathing by opening up your lungs, much like The Roaring Pose. However, it works a separate set of muscles, so they don’t impact you in the same way. If you can get to a point where you can include both into a routine, you’ll experience deeper benefits to your breathing and sleeping.
Vajrasana (Adamantine Pose)

This is the most basic yoga pose you can do. So basic, in fact, you probably do it already without even realizing it! It’s also a great gateway to other yoga practices; it forms the basis for many different poses.
This pose is done by kneeling. Rest on your knees with your feet face-up underneath your butt. Your knees, toes, and ankles should be touching the ground, as should your knees. Straighten your back and place the palms of your hands on your knees. Now simply breathe and focus on the air as it enters and exits your body.
This pose helps to improve your breathing by improving your posture. It’s great for those new to breathing exercises. It doesn’t require you to position your arms or hands in specific ways. Simply leave them resting as instructed.
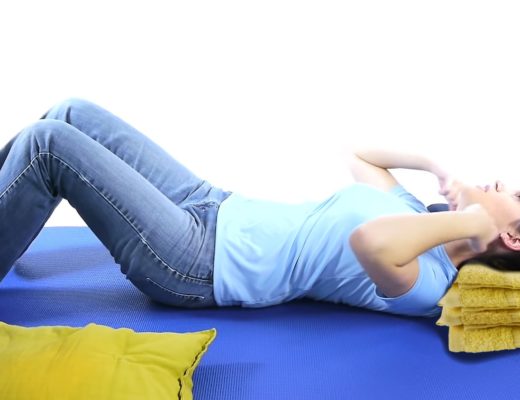
Shavasana (Corpse Pose)

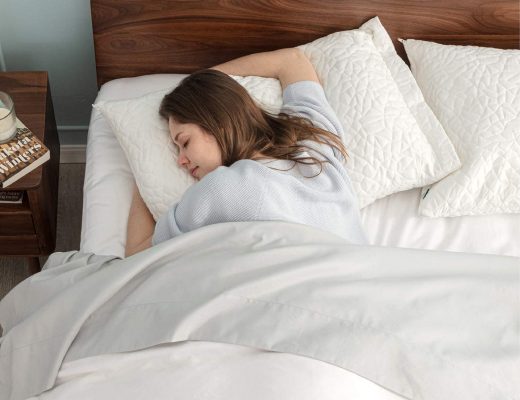
Don’t let the ominous name scare you off: Shavasana is one of the most relaxing, restorative poses you can do. Thanks to its simplicity you can perform it in bed, making it the perfect cure for restless nights.
Simply lie down on a mat or in bed (if lying in bed, you may want to cover yourself up with a blanket first). With your eyes closed, stretch your arms out slightly from your sides (with your palms facing up) and part your legs at a similar angle. Then, breathe slowly, focusing on the sensation of your breaths. Do this for ten minutes.
There is difficulty in Corpse Pose, especially for beginners. Though the goal is to relax physically and mentally, just lying there stretched out won’t switch your brain off. And once the mind begins to run its course, the body ceases to relax. That’s why there’s such an emphasis on focusing on your breathing. It gives your thoughts a central point, and due to slow breathing, your body will ease into a state of relaxation. It may take practice, but you can add more time and eventually fall asleep in the pose itself.
Corpse Pose taps into the parasympathetic response, which allows for total relaxation and deeper sleep. When you’re really focused on your bodily sensations during this pose, you can actually feel the tension leaving your muscles and bones. As an additional benefit, it also serves as an excellent introduction to meditative practices.
Viparita Karanji (Legs Up The Wall Pose)
 A gentle workout can do wonders when you’re struggling to sleep, but too much exertion and your body will go into high alert, making the snooze you so desire even harder to achieve. To keep yourself from crossing over that thin line, your focus should be on strenuous exercises that won’t elevate your heartbeat or make you break a sweat. There are several poses in yoga perfect for this, but Viparita Karanji is maybe the most fun (and satisfying!).To begin, sit on the floor with your side facing the fall. You’ll want some distance between yourself and the wall, roughly half a foot. Extend your legs, and when you’re ready, roll onto your back and swing your legs into the air so that your feet are against the wall, all in one motion. Let the rest of your body rest on the floor while you hold your legs up and against the wall and begin slow breathing. Hold that position for five minutes.
The single motion aspect of the Legs Up The Wall Pose is crucial and will likely require practice. Once your legs are up against the wall, gravity’s impact on your body is reversed. Tension will drift away while your blood pressure regulates. And if you’re a late night eater, holding the pose longer can even promote smoother digestion.
Practice Every Day
Don’t get discouraged if you find you still can’t slide into a blissful sleep. After your first few attempts with any of these poses. Like any other skill, development takes practice. The idea is to incorporate a nightly yoga routine, even if it’s only one pose, into your life. It only takes a small investment of time to reach a deeper level of sleep that can last a lifetime.